
Setup & Configuration Tutorial
Install the PDF Redaction n8n community node, create the API credential, and configure the Anonymize, Anonymize with Custom Prompt, and Detect PII operations.
This tutorial walks through installing the PDF Redaction community node, creating the credential it needs, and configuring each of its three operations: Anonymize, Anonymize with Custom Prompt, and Detect PII.
1. Install the node
In your n8n instance, go to Settings → Community Nodes.
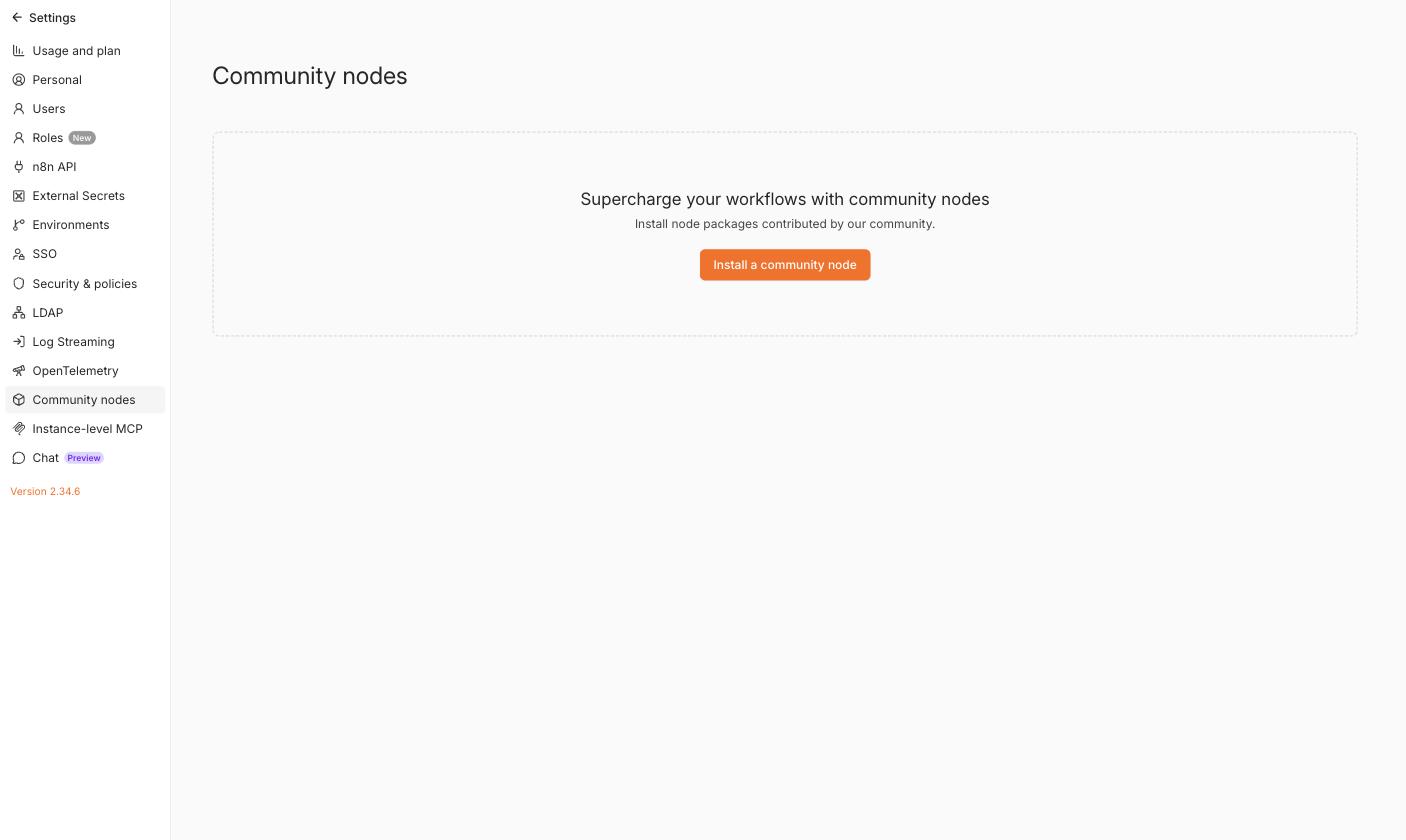
Click Install a community node, enter the package name @stabrise/n8n-nodes-pdf-redaction, accept the risk notice, and click Install.
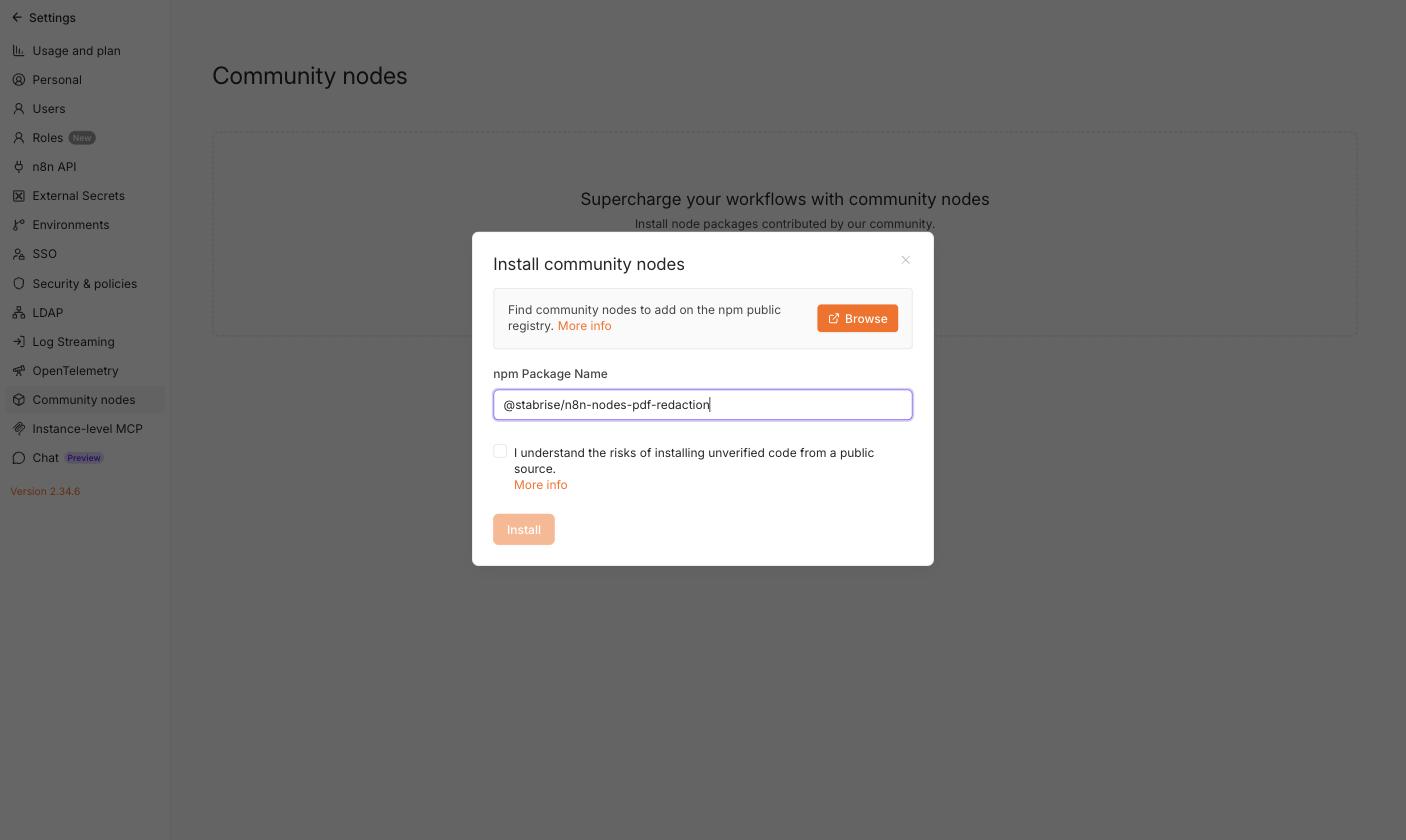
Once installed, the PDF Redaction node is available in the node panel, and the PDF Redaction API credential type is available when creating credentials.
2. Create the API credential
The node authenticates with the PDF Redaction API using an API key.
-
In n8n, go to Credentials → Create Credential and search for PDF Redaction API.
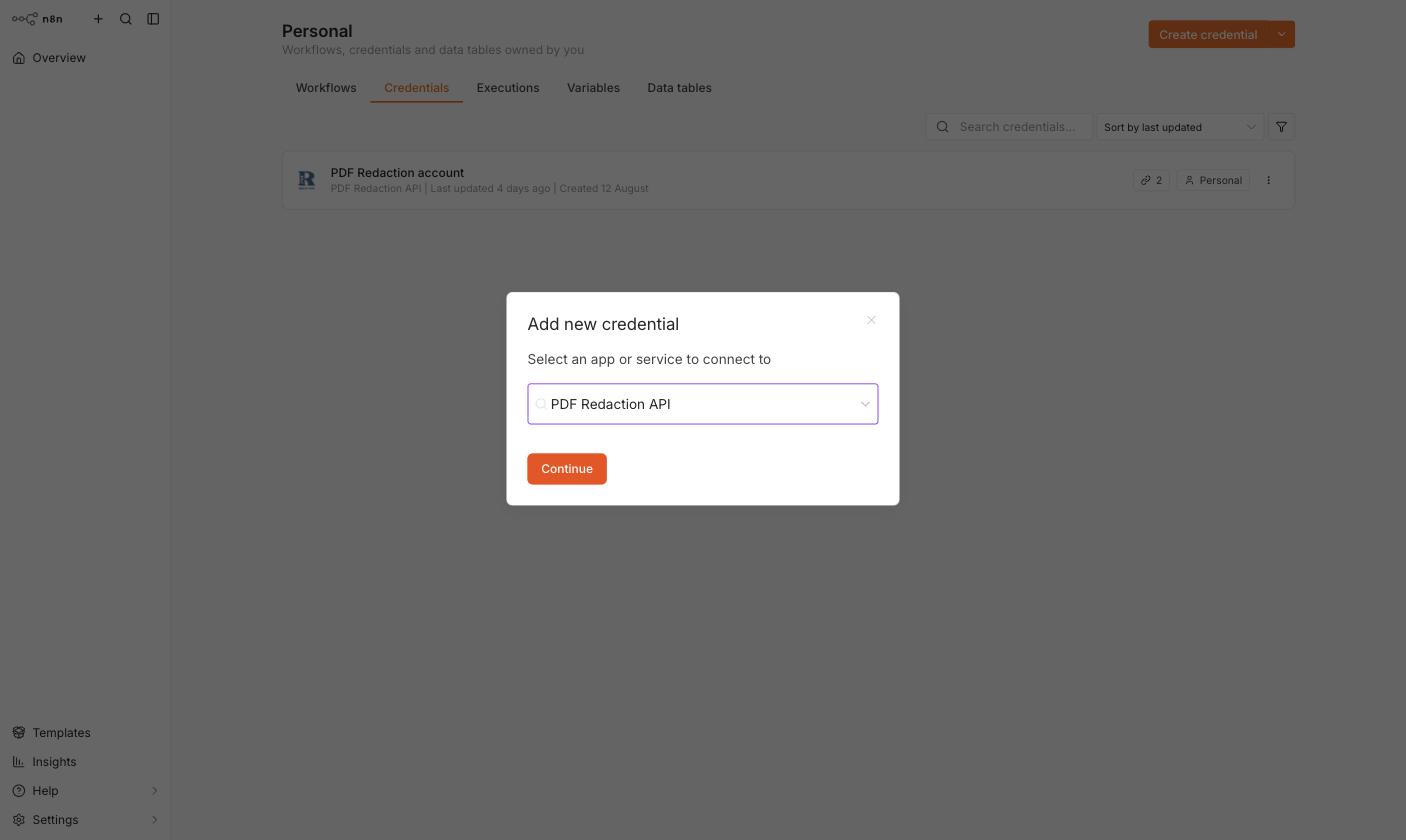
-
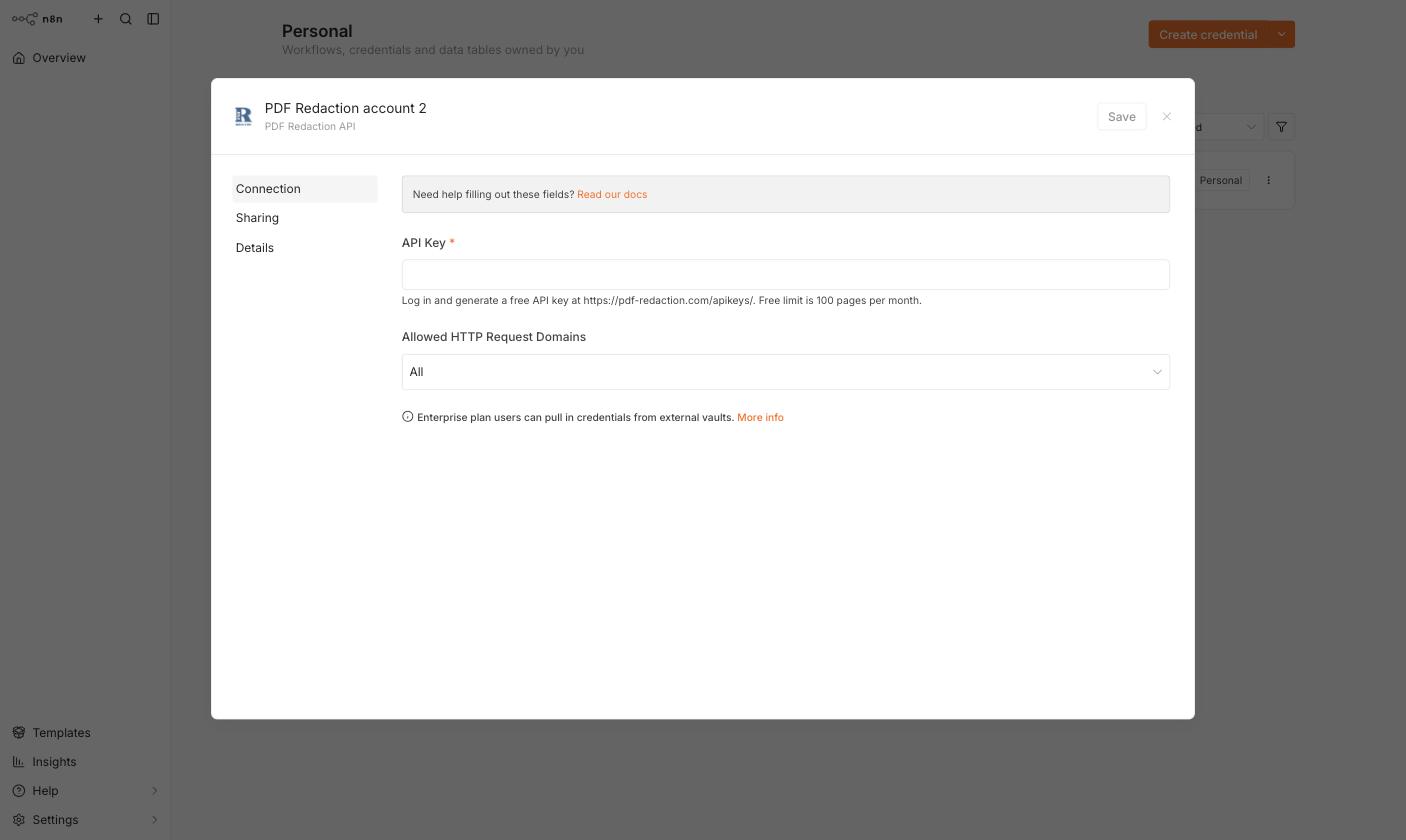
Log in and generate a free API key at pdf-redaction.com/apikeys — the free tier includes 100 pages/month.
-
Paste the key into the API Key field and save.
3. Add the node to a workflow
Add a PDF Redaction node after a step that provides a PDF as binary data (e.g. an HTTP Request, Read/Write File from Disk, or a trigger with a file attachment), and select your PDF Redaction API credential.
The node's Operation field controls what it does. By default it's set to Anonymize.
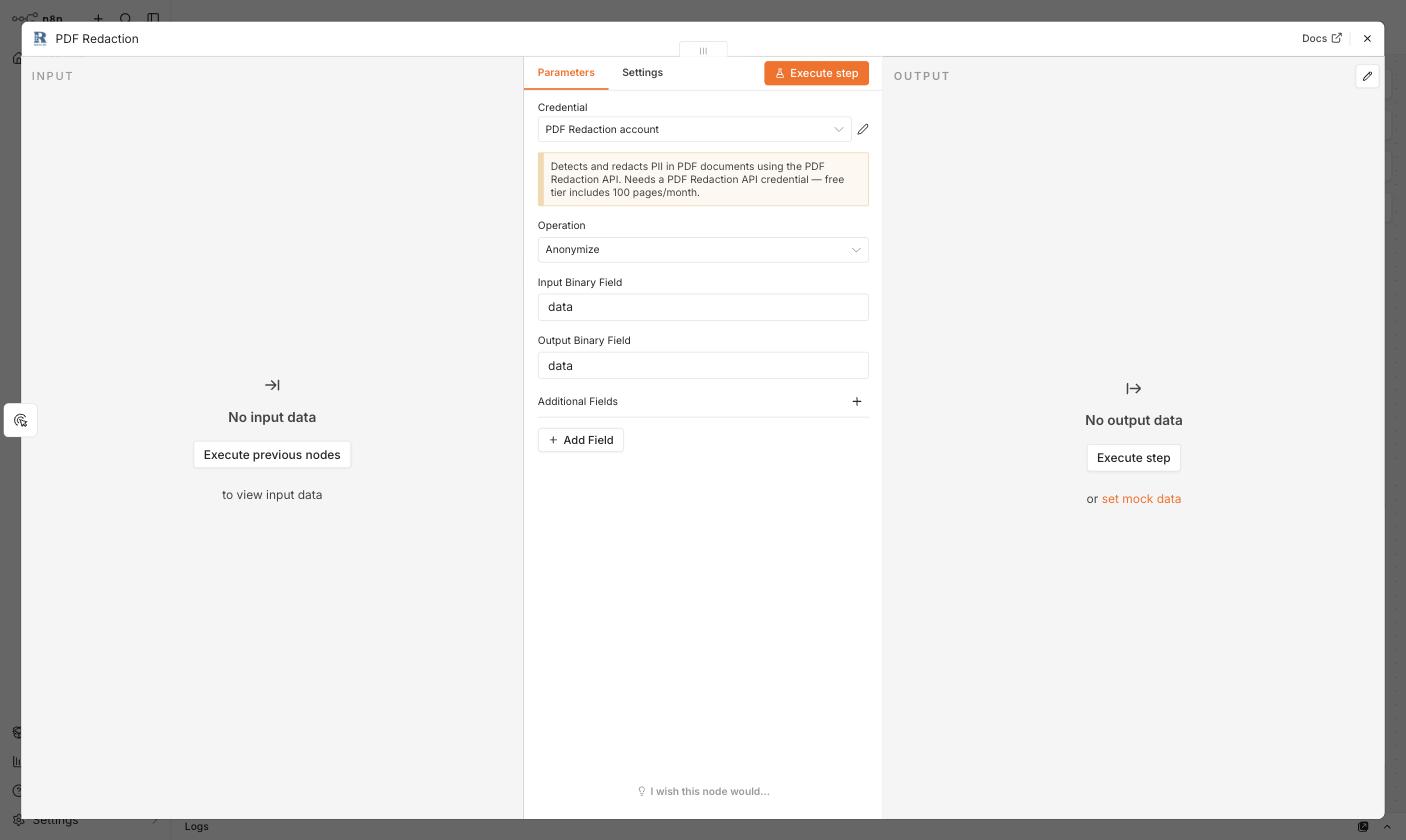
- Input Binary Field / Output Binary Field — the binary property names to read the source PDF from and write the result to (both default to
data).
4. Configure "Anonymize"
Use Anonymize to redact PII using a predefined set of tags. Open Additional Fields → Tags and pick the PII types to redact (dates, names, emails, addresses, credit cards, and more).
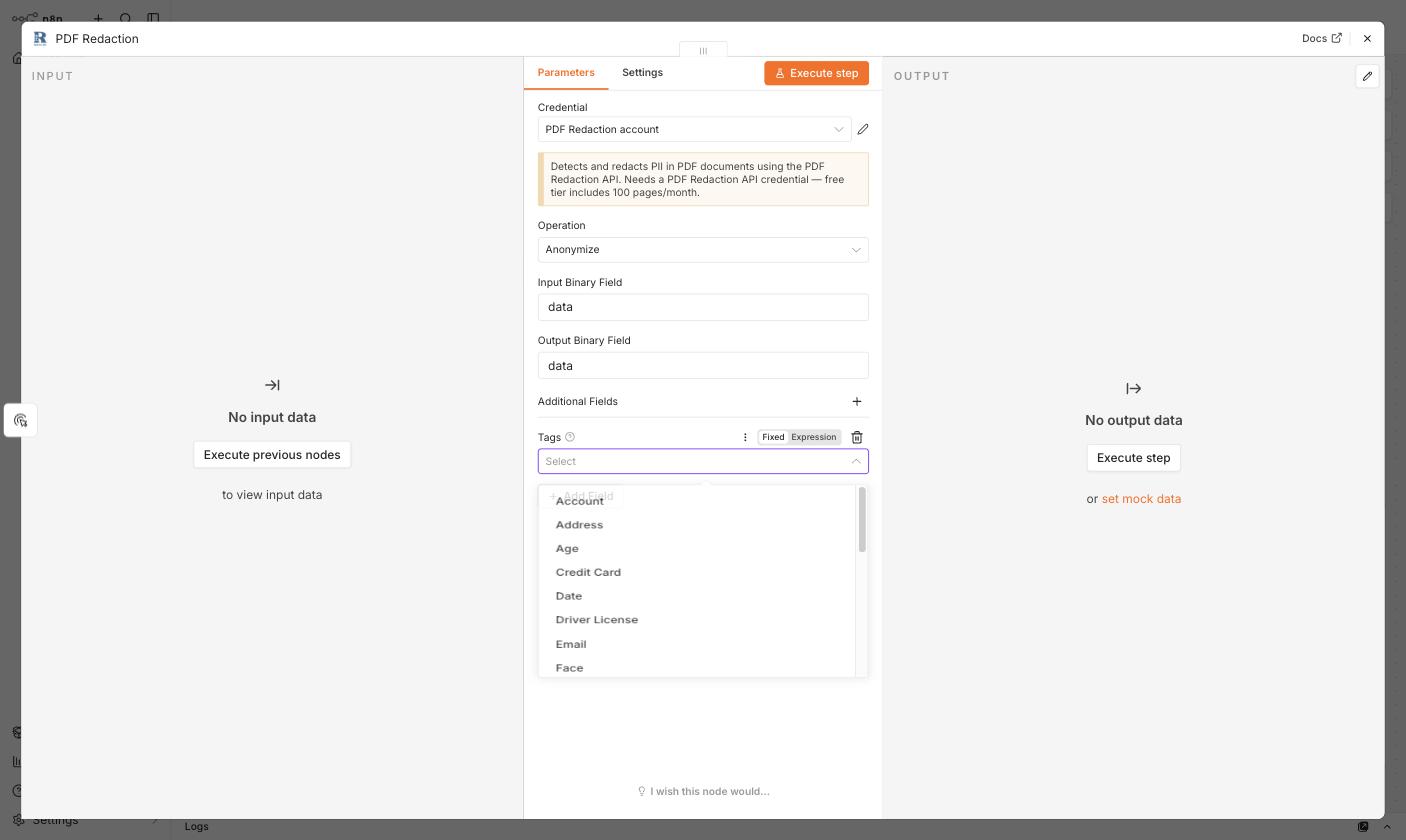
Once selected, the tags appear as chips on the field:
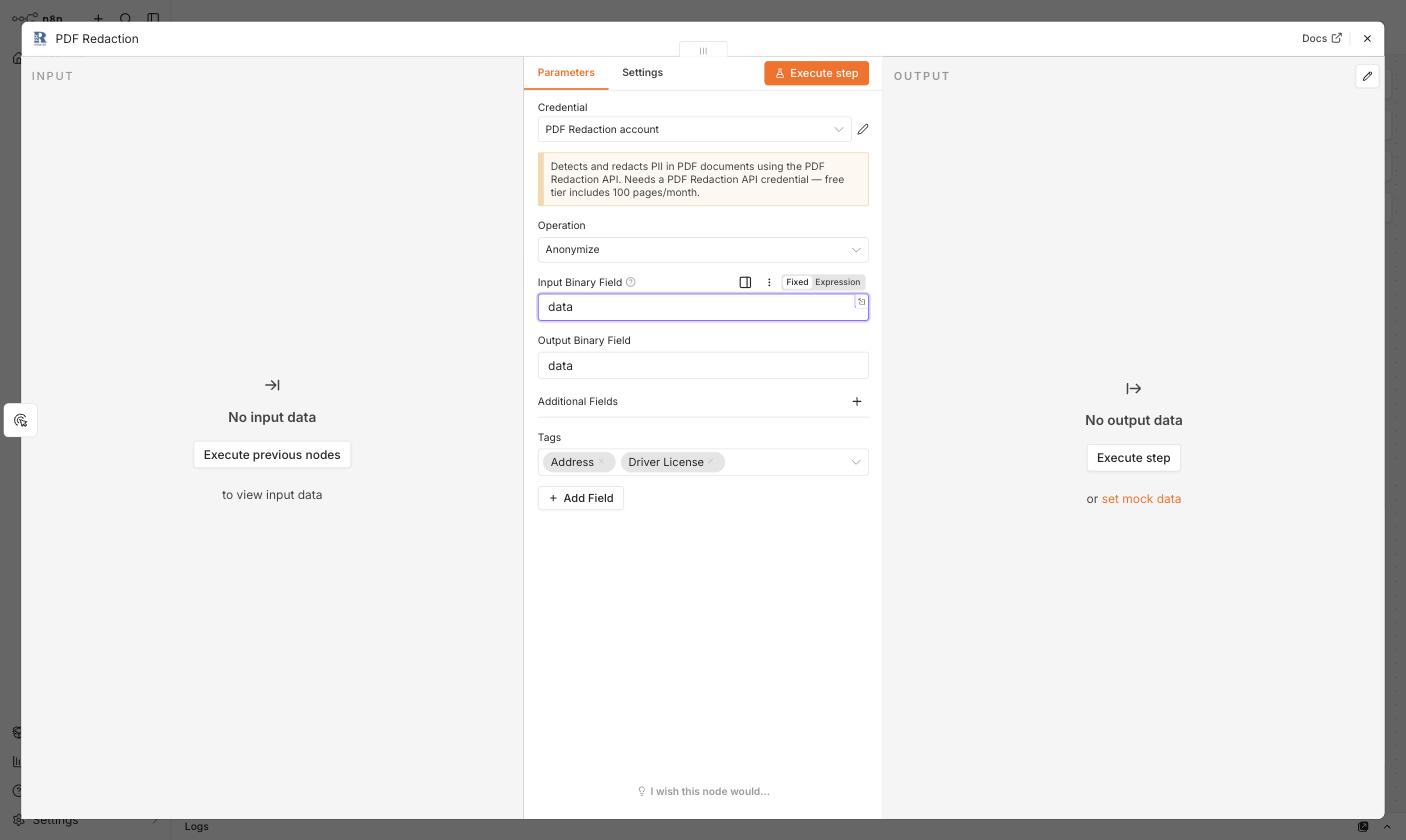
Other Additional Fields let you fine-tune detection: Custom Tags (your own labels), Force OCR, OCR Languages, Redact Text, Rotated Text, and Min Chunk Size.
5. Configure "Anonymize with Custom Prompt"
Instead of picking tags, describe what to redact in plain English via the Prompt field:
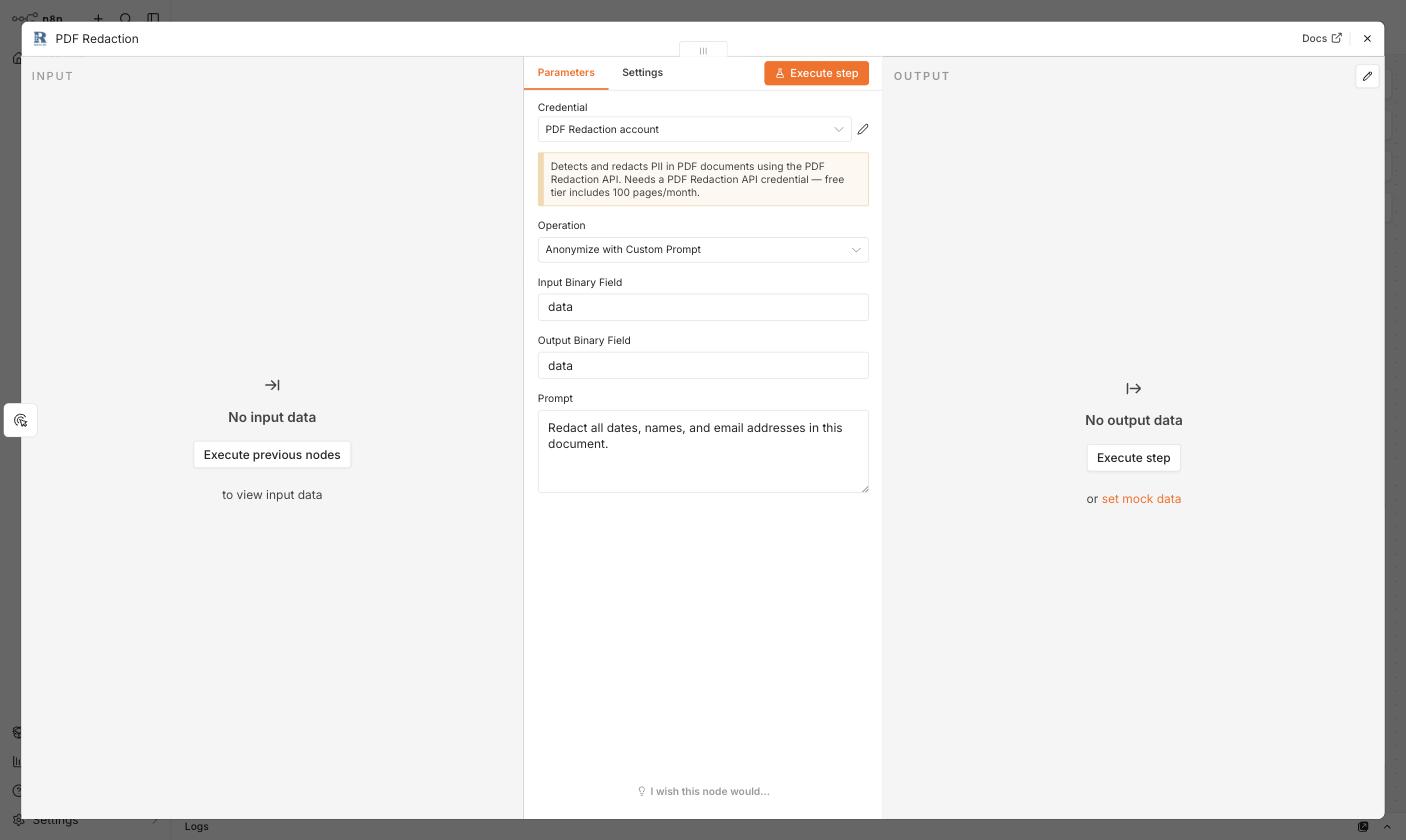
This is useful for redaction rules that don't map cleanly onto the predefined tags (e.g. "redact anything that looks like an internal project codename").
6. Configure "Detect PII"
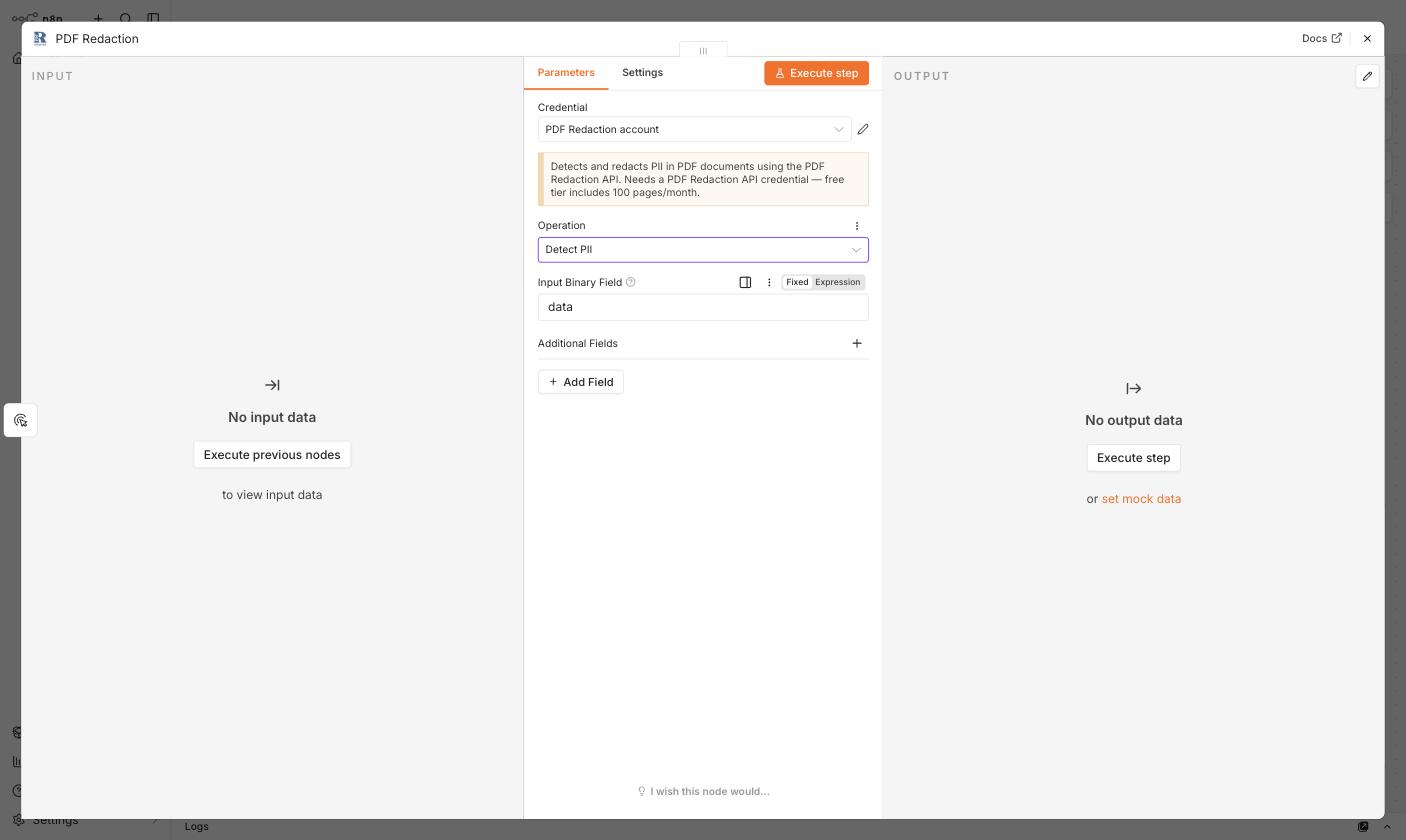
Use Detect PII to scan a document and get back the detected entities (with bounding boxes) without modifying the PDF — useful for auditing or building a review step before redacting.
7. Run the workflow
Every operation reads the source PDF from the configured input binary field. The anonymize operations write the redacted PDF to the output binary field; all operations also return detected_pii (entities with bounding boxes) and processing_time in the output JSON.
Click Execute step (or run the whole workflow) to process the PDF and inspect the output panel for the redacted file and detected entities.
Limits
Only the first 10 pages of a document are processed per request. Free-tier accounts are additionally capped (at the time of writing: 10 pages/request, 100 requests/month, 5 requests/minute) — check current limits at pdf-redaction.com/apikeys.
See also
For a complete, runnable example that fetches a real PDF over HTTP and redacts it end to end, see Redact a PDF fetched over HTTP. To scan a document for PII without modifying it, see Detect PII without redacting.